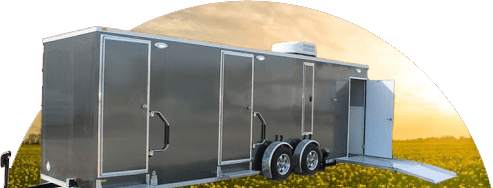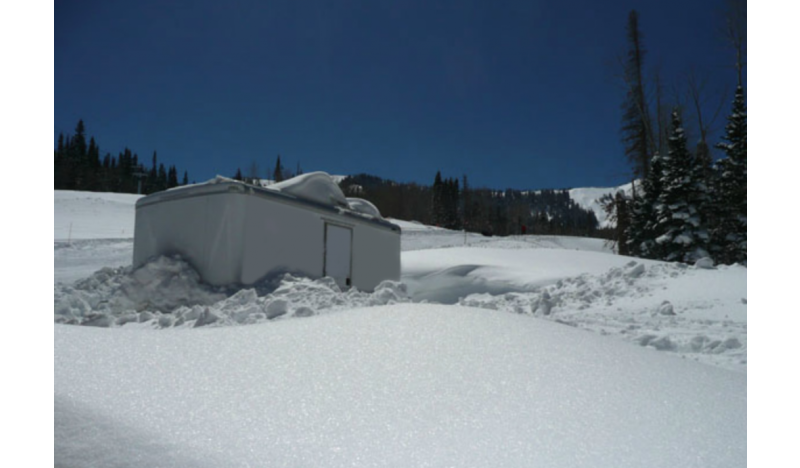
Here at Portable Restroom Trailers, we pride ourselves in providing the best products in our industry. We build products with quality that lasts, but despite all the precautions we may take during production, some things are hard to prepare for. We know it’s a little early to start thinking about those winter storms to come, but best to be as prepared as possible!
For those who experience extreme weather conditions, we know how hard it can get to maintain your restroom trailers. Maintenance issues are bound to arise: what if your water freezes? What if the hose gets clogged by ice? How do I keep my restroom guests comfortable during use?
These are all thoughts we’ve had when thinking about how to continue to improve our product. We want you to have the highest quality experience possible after your purchase. When it comes to cold weather, note these tips to ensure your restroom trailers stay functioning and keep that high quality for long periods of time.
PROTECT YOUR WATER SUPPLY
- Wrap heat tape around a ¾” garden hose. Use duct tape to hold it in place, about every 12 inches.
- Put foam tube insulation around the hose and heat tape. Leave the plugs and power lights uncovered.
- Run duct tape down the insulation, leaving the connecting ends, plugs and power lights uncovered. If you cover them, you will not be able to connect the water or power. Leave test lights and power lights uncovered (for testing and to be sure the hose remains working).
MAINTAIN INTERIOR TEMPERATURES
- Place two 1500-watt electric heaters under the unit. Be sure you have sufficient power!
- Build a 2×2 or 2×4 wood frame to fit underneath each side of the unit. This is going to box the bottom of the outside of the unit.
- Fill any gaps with insulation
- Cut ½” plywood to fit frame for each side. Be sure to consider stairs when cutting your wood. Stairs should be out and in place before measuring.
- Measure and cut out a 6”x6” square to cover the drain access. Attach this with hinges so you can access the drain when needed. This will protect drain valve from freezing.
- Eliminate gaps and holes on the tongue side of the unit with R-13 (or greater) insulation.
- Staple insulation inside the wood box
- Cut a piece of insulation in half and lay it on the ground where the box will be placed. This eliminates gaps between the wood and the ground.
- Fill any small gaps on the top and bottom of the box with insulation
- Staple bubble wrap around the outside of the wood unit. This closes of gaps and keeps cold air out and heat in.
- Use electrical tape to cover plug connections that will remain outside.
NOT USING YOUR RESTROOM TRAILERS THIS WINTER?
Eliminate the use of power and water until the unit is ready to be used again.
- Drain water from all the lines.
- Add non-toxic RV “Pink Water System” antifreeze
- Unplug
Follow these simple tips and your restroom trailers will maintain their quality for a long time coming! Contact us with any questions you may have about keeping your trailers in great condition